Exposure 101: How to Use Manual Mode in Practice.
So many tutorials teach the exposure triangle, but how is it actually applied in practice? Take full control of the power of M(anual) mode by training your muscle memory on this one recipe!
When I was starting out in hobby photography in my early teens, I felt that I had to cling to all forms of automatic assistance to coordinate my shots for me: I would merely point the camera, and would let auto-focus and auto-exposure (the infamous P mode, or even worse, AUTO mode, with assistance of the on-camera flash) handle the rest. After all, computers are much better at multi-tasking than we mortals are, and that dreaded M mode seemed to have way too many settings with opposite effects. Better safe than sorry… right?
One day, after many years of shooting in P, I realised that I was handicapping myself like a child riding its bicycle having outgrown the still-attached training wheels. I plunged myself into the deep end, and soon enough, my hands found their way to the step-by-step process for taking full control of my shots. in Manual mode. This process has long become muscle memory, and outperforms P mode every single time. Let me share it with you!
Exposure triangle, in short
Cameras capture light. The way they do this is much like blinking, but in reverse: they have their “eye” closed when idle, and only open it momentarily to “see” the scene (expose the sensor to light) when you press to shoot. The precise details to fill in this metaphor differ between DSLRs – which actually have physical “eyelids” – and mirrorless cameras, but luckily, that’s none of the photographer’s concern, except in terms of how heavy the camera body is to carry around.
Many tutorials exist on the exposure triangle. It is the famous trio of numbers which the photographer should guard over per shot, determining how the camera “blinks”: shutter speed, aperture, and ISO.1 Other tutorials already go into elaborate detail about the exposure triangle and show many examples of dos and don’ts, but often fail to teach how to apply the exposure triangle while operating the buttons and dials on the camera itself, from start to finish.
Just for reference, here is the exposure triangle and an equivalent chart.


Left: Exposure triangle. Right: Exposure chart. Sources: PNGkit and SLR Lounge.
There are really only two aspects to remember for each of the three numbers:
- whether increasing it lets in more light or less light, and
- its stylistic effect.
This information lends itself nicely to being summarised in a table.
| Setting | stands for … | letting in more light when it is … | which causes… |
|---|---|---|---|
| ISO | sensor sensitivity | higher | grain |
| Aperture | inverse size of lens opening | lower | depth of field |
| Shutter speed | inverse exposure time | lower | motion blur |
Practical summary of the exposure triangle.
P mode balances the three numbers to ensure the amount of light let in is just right (or at least, what the camera thinks is right, which can be very wrong under many conditions), but of course, it can’t possibly know what stylistic choices should be made, and therefore it usually makes the wrong ones.
To build intuition for how these three numbers could affect exposure, your own eyes suffice:
- Shutter speed: stand in a dark room with your smartphone in hand. Give your eyes some time to adjust. Now close your eyes. Turn on the screen so it lights up. Now open and then close your eyes (a “reverse blink”): you will see a bright spot where your phone was, and the speed at which you blinked determines how bright the ghost image is and how long it remains.
- Aperture: people with prescription glasses see a blurry image when they open their eyes wide. They naturally squint to make things sharper. “Sharp” means that all the light rays that start in the same point on an object are projected onto the same point on your retina, rather than a circle (which is what “blur” is: one point in the scene is represented at many points in the image). When you squint, you block more light rays from entering your eye. The consequence is a sharper image, since fewer rays have to be coordinated, but obviously the image is also darker because light is blocked. A pinhole camera produces a very sharp but very dim image, because it attempts to let exactly 1 light ray through per point in the scene. This is also why at extremely wide apertures, thin objects become see-through: the wider aperture casts a wider net and hence catches light rays coming from objects behind the foreground.
- ISO: our eyes have a baseline sensitivity which, confusingly, is regulated by pupil dilation. When you’ve been in a long tunnel or a dark room for a while, you can resolve details easily. When you step into the light immediately afterwards, you have to squint (shrink your aperture), because your eyes are too sensitive (the ISO is too high) causing the scene to be overexposed.
Oh no, reciprocals!
Strangely, aperture and shutter speed tend to be shown as a fraction in-camera, with the numerator fixed and the denominator changing. We call \(f/1.4\) “wide-open aperture” and \(f/11\) a “narrow aperture”, even though \(1.4\) is much smaller than \(11\). It makes sense when carrying out the division, however: whatever strictly positive number \(f\) is, \(f/1.4\) is always bigger than \(f/11\). Shutter speed, meanwhile, is actually a misnomer for “shutter time” when displayed as a fraction: we call \(1/16\,000\) a “high speed”, even though carrying out the division results in about \(0.00006\), a very small number. To make matters worse, photographers use the term “fast” to refer to lenses with… a wide aperture.
Forget the confusion, and use this simple rule: for aperture and shutter speed, a smaller denominator implies a larger amount of light. Some camera manufacturers, like Lumix, leave out the numerators (“\(f\)/” and “1/”) altogether on-screen, so that the rule becomes “smaller number, more light”. In ordinary situations (e.g. street and landscape photography), the following limits are common for each setting.
| Setting | Typical low | Typical high |
|---|---|---|
| ISO | 200 | 12800 |
| Aperture | \(f/1.4\) | \(f/11\) |
| Shutter speed | 1/25 | \(1/16\,000\) |
Typical values for ISO, aperture and shutter speed settings.
Notice once again that \(f/1.4\) is technically large (wide aperture) and \(1/16\,000\) is technically small (short exposure), even though they would show up as a small and a large number respectively on e.g. Lumix cameras. It is what it is.
Muscle memory
Okay, without further ado, here is the procedure I follow to expose most shots:
- Set ISO to 200.
- Set aperture depending on the desired depth of field. This is the most important stylistic choice during exposure.
- Low-ish (\(f/2.8\) to \(f/4.0\)) for portraits.
- High-ish (\(f/8.0\)) for architecture and landscapes.
- Set shutter speed until the meter says the exposure is balanced.
- If shutter speed has dropped below 1/25, double the ISO and go back to step 3.
The philosophy is that ISO should be used as a last-resort exposure booster, and that most shutter speeds above a certain limit are equal for still scenes. The only time this procedure doesn’t work is in extreme scenarios were an abnormally high amount of light is needed, namely when shooting extremely fast objects (sports photography), when shooting extremely long exposures (astrophotography), or when shooting in a professionally lit environment with lots of off-camera lights (studio photography).
Much like riding a bike, this procedure becomes second-nature after enough practice. Your hands and eyes will execute it subconsciously. Usually, step 1 and 2 can be skipped after the first shot of a scene, e.g. when sightseeing or when taking portraits. It allows you to expose as best as possible, as quickly as possible.
For shooting video, aperture is again the most important setting stylistically, although many also swear by fixing the shutter speed to a single value to create cinematic motion blur. If you don’t care about the latter, set your camera to A(perture) mode and let the camera vary the shutter speed automatically. If you want that motion blur, you’ll likely need to put sunglasses on your camera since you have no other options to stop light from getting in.
There is one caveat I should mention with each setting:
- Aperture: good lenses are characterised2 by large openings like \(f/1.4\) or lower, whilst most lenses can close to \(f/16\) or higher. Why not use these extremes rather than \(f/2.8\) and \(f/8.0\)?
- For very narrow apertures (\(f/16\)), light behaves quantum-mechanically, rather than as straight rays: it bends (diffracts) around corners.
- For very wide apertures (\(f/1.4\)), the focal plane is so paper-thin that nothing fits inside of it, and I find that it is exceedingly difficult to photograph anything properly.
- Shutter speed: I’m in my twenties and have stable hands, and my camera has in-body stabilisation (IBS) to correct small shakes during an exposure, so shooting handheld at 1/25 shutter is still doable for me. Other people and other cameras might find 1/60 or even 1/125 to be their limit before pictures look shaky. On the other hand (pun intended), if I have the ability to stabilise my camera by putting it on a hard surface and the subject is still, I won’t hesitate to drop the shutter speed to 1/10 and under.
- ISO: some people are convinced that modern cameras produce very little noise even at high ISOs, and that you shouldn’t sacrifice shutter speed in favour of a low ISO like 200. (In fact, some say ISO numbers are a hoax anyway.) As with all things, you should find a happy balance: because we are dealing with a sensor over time, sharpness is not only determined by aperture, and indeed, depending on how stable your hands are, it is clearly better to have slightly more noise but have the subject be completely frozen in time. If you’re tech-savvy, you’ll easily find tools that can smooth over noise, but no tools can remove motion blur in all3 photos.
Deep dive: zooming and exposure
Focal length and the exposure triangle
The above is all you need to operate your camera dials for regulating the amount of light that is collected by the sensor. There is, however, one more setting which, in spite of being controlled by the user, secretly also affects exposure: zoom, or more technically, focal length (the millimeterage4 of the lens).
Intuitively, this should make some sense: the effect of zooming in is that less of the scene is seen. It’s like cupping your hands around your eyes to obscure your peripheral vision: obviously, less light falls into the lens when the lens sees fewer points emanating light.
Why isn’t it part of the exposure triangle? The short answer is: it is! The seemingly arbitrary “\(f\)” in all aperture sizes above is the lens’s focal length. Therefore, the meaning of \(f/1.4\), \(f/2.8\), … changes with the focal length. It is still true that those fractions are lens diameters. Let’s call the aperture number \(N\) (the denominators 1.4, 2.8, …) and the lens diameter \(D\), then it holds that \[D = f/N \qquad \textrm{and} \qquad N = D/f.\]
The latter equation means that for the same aperture number \(N\) (say, \(N = 2.8\)), a lens of twice the focal length (\(f_2 = 2\times f_1\)) needs to be twice as wide (\(D_2 = 2\times D_1\)). Now we know why photographers measure exposure by looking at the aperture number \(N\) and not the aperture diameter \(D\): the same diameter \(D\) produces a dimmer image when zoomed in, so “wide aperture” is only relative. Similarly, we don’t use focal length as a metric for exposure (letalone use the lens’s zoom to expose the image!) because the result would be relatively brighter with a larger diameter and relatively darker with a smaller diameter.
What we actually care about is “light-gathering capability”. Two lenses at \(f/2.8\) always2 gather the same amount of light, in accordance with \(N = 2.8\), even though one might cast a much wider net than the other since their diameters \(D_1 = f_1/2.8\) and \(D_2 = f_2/2.8\) can differ. This is why we use an unspecified “\(f\)” when indicating “\(f/2.8\)”, because it is the 2.8 that matters regardless of the focal length.
Why kit lenses don’t have fixed aperture
Kit lenses are known to automatically raise the minimal aperture number when zooming in. The kit lens I use for wide-angle photography and for run-and-gun videos is Lumix’s 14-42mm. It is rated at “\(f/3.5\)-\(5.6\)”, which means its widest aperture is \(f/3.5\) at 14mm yet it can’t get below \(f/5.6\) when zoomed in all the way at 42mm.
Since big glass is expensive, it makes sense why kit lenses don’t have a fixed aperture number throughout all positions. The diameter at the maximal focal length is currently \[D_\textrm{max} = f_\textrm{max}/5.6 = {42}\,\text{mm}/5.6 = {7.5}\,\text{mm}\]
whereas if the light-gathering capability had stayed the same, the diameter should have expanded all the way to \[D = {42}\,\text{mm}/3.5 = {12}\,\text{mm}\]
which is 160% the current diameter and 250% the current area. That would be way heavier and expensive to manufacture.
Example
Let’s now put this knowledge to the test. Here are two candid shots of the same scene (me holding my camera, and my younger brother wearing his backpack), courtesy of my dearest grandma. She owns a Nikon D3200 equipped with a Sigma 24-70mm f/2.8 fixed-aperture zoom lens – an expensive piece of equipment. And yet, the results it can produce based on some setting changes is remarkably different.
The shot on the left was taken on AUTO mode, the other was taken on M(anual) mode after I configured the appropriate settings. Once again: this is the same exact camera and lens, and furthermore, the same aperture number (2.8).
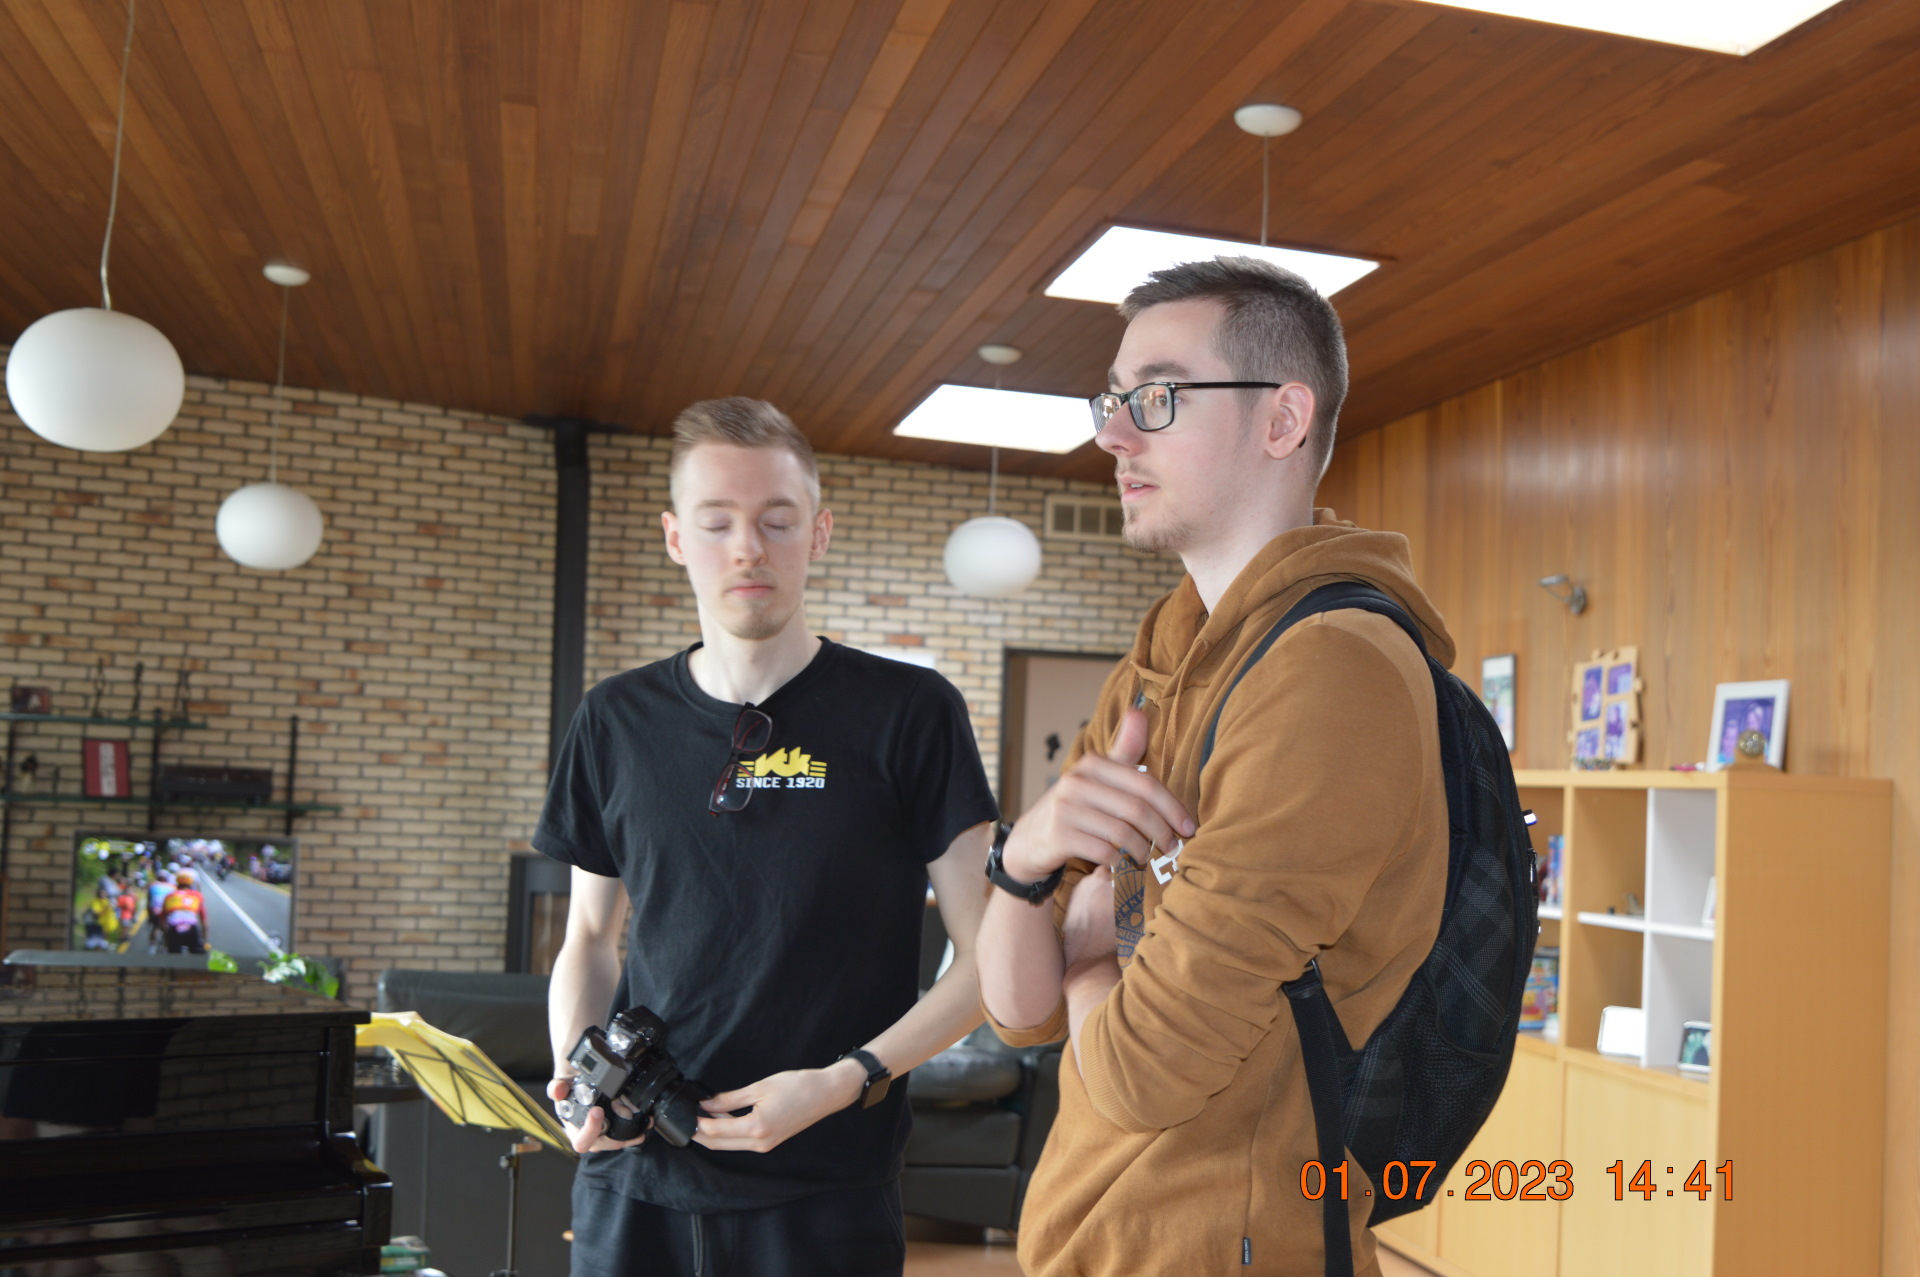

Left: AUTO mode; 24 mm; ISO 140; 1/30; f/2.8; flash. Right: M mode; 48 mm; ISO 200; 1/100; f/2.8; no flash
Can we explain why there is so much more background detail on the left than on the right, even though the aperture number stayed the same (\(N = 2.8\))? Yes! We know the focal length \(f\) doubled, and since \(D = f/N\), the effective aperture diameter of the lens also doubled. As a result of the doubled diameter, the background got blurrier, because as we saw in the definition of “sharpness” above, wider diameters catch light from further out.
This partly explains why the first shot did not look good, even at \(f/2.8\). Furthermore, note that the ISO was so low that the camera picked a slow shutter speed, causing motion blur and overexposure on my skin. At the same time, the on-camera flash still triggered, taking away the shadow contours outlining my brother’s head, and even worse, giving the viewer a peak at the inside of his ear and nostril. This is bad.
The second shot fixes these things, but more: it has better framing, a better angle, and better posing. In short, its composition is better, which is the topic of the next article.
Opinions differ on whether it is pronounced as “eyeso” or as “eye-es-ohw”, see e.g. Vanessa Joy’s opinion video. ↩︎
The aperture number (F-stop) determines blurriness due to its direct relation to the lens diameter, but depending on the lens internals, the lens might transmit less light to the sensor than you would expect from its aperture number. To be entirely accurate, the exposure triangle should use T-stops. As Tony Nurthrup puts it: “F-stops tell you the background blur, T-stops tell you the exposure.” An F-stop is an idealised T-stop, but beware that some \(f/2.8\) lenses are as dark as some other \(f/5.6\) lenses, ceteris paribus. ↩︎ ↩︎2
As AI tools improve, better motion blur removers will come into existence, but they cannot recover information that isn’t already in the image, at least not without making it up on the spot by guessing what information should have been there. ↩︎
To be completely precise, the effective focal length of any lens is not fixed. The focal length reported on a lens is the focal length when subjects at infinity are in focus on the sensor. The effective focal length increases when focusing on subjects closer than infinitely far away, which is known as focus breathing. In other words, focusing nearer causes a slight zooming in, which makes the image slightly darker as we have seen. ↩︎